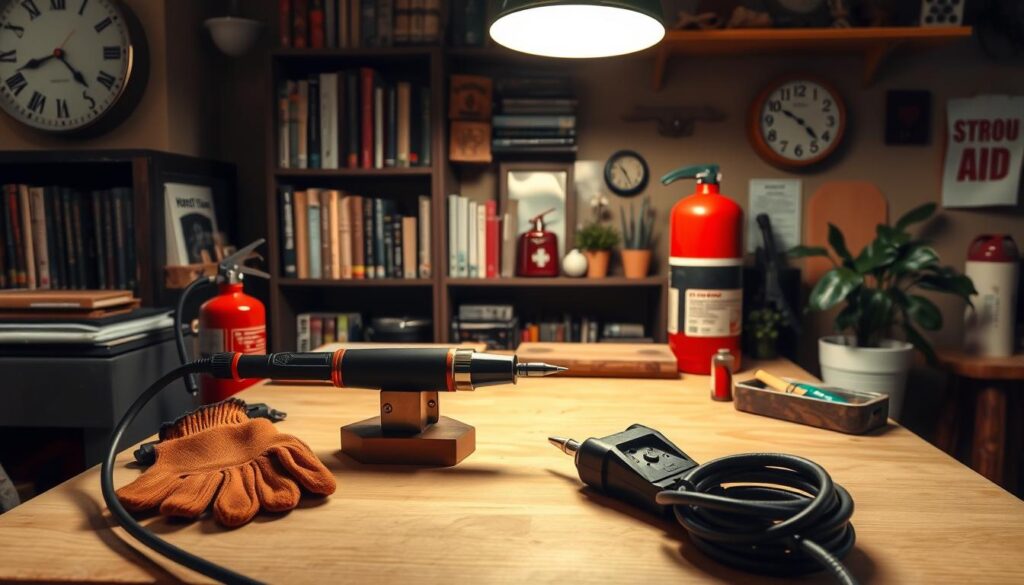
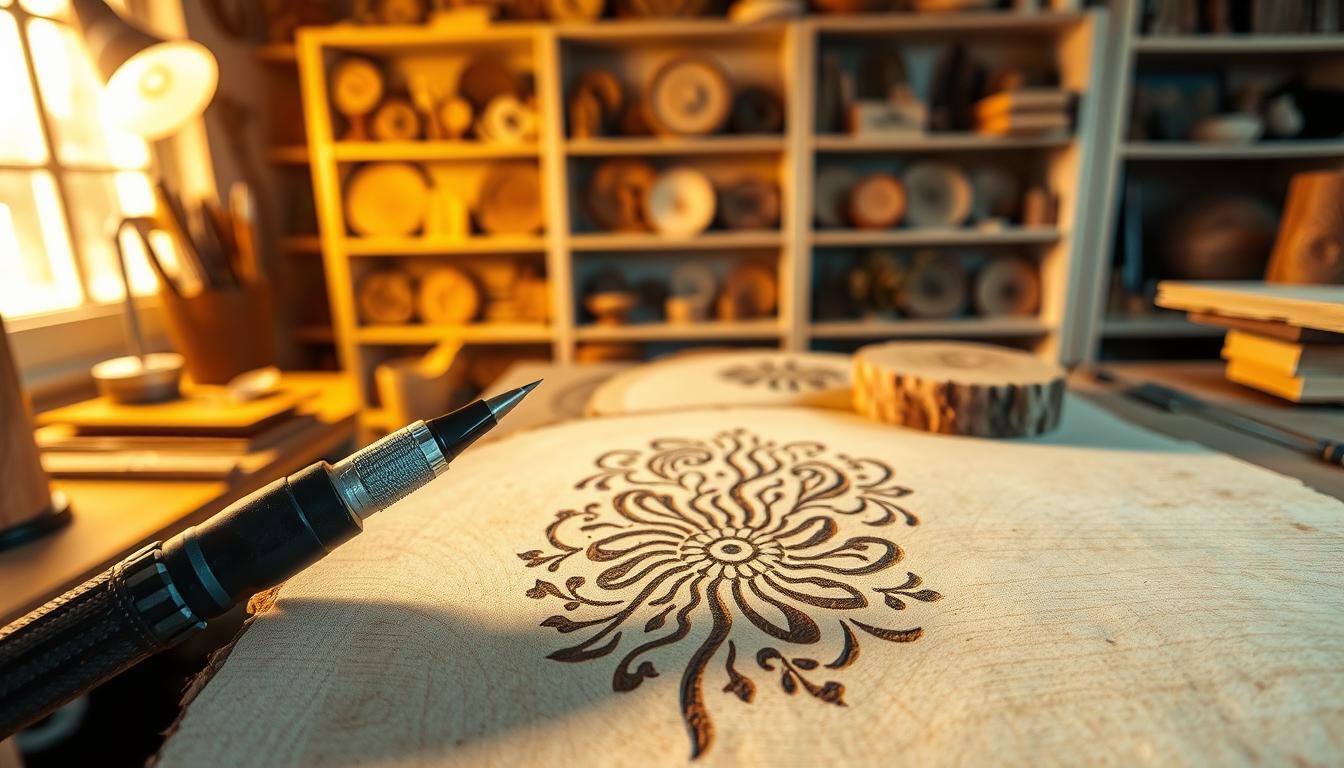
We are excited to introduce you to pyrography. It’s a hobby where you make designs on materials with a heated tool. The name comes from Greek words “pur” (fire) and “graphos” (writing).
Pyrography is not a new hobby but has been loved for centuries. Artists use it to create on wood, leather, and gourds.
If you’re new to pyrography, you’re in the right spot. We will teach you the basics. You’ll learn about tools and making your first designs.
As we explore pyrography, you’ll see how it can be a fun hobby. You’ll make beautiful, unique pieces everyone will love.
What Is Pyrography? Understanding the Art of Wood Burning
Pyrography is the art of making designs on wood or other materials with a hot tool. It has a long history that goes back centuries. Over time, it has changed with new cultures and technology.
The Ancient History and Modern Revival of Pyrography
Long ago, pyrography was used to decorate important items. Now, we use soldering pens and special tools to make art on wood, leather, and gourds. This mix of old and new has made pyrography fun and easy for everyone.
Why Wood Burning Has Become a Popular Craft Today
Wood burning is loved today because it’s creative and fun. It lets you work with fire and materials. Plus, making something special with your own hands is very rewarding.
Essential Tools for All About Wood Burning (Pyrography)
Getting the right pyrography tools is key to a great wood burning experience. As we dive into pyrography, knowing the tools is crucial. They help you get the results you want.
Wood Burning Pens and Burners: Fixed-Temperature vs. Variable-Temperature
Wood burning pens and burners are the main tools for pyrography. They come in two types: fixed-temperature and variable-temperature. Variable-temperature burners let artists adjust heat for different effects. This is important for mastering pyrography, as one expert says.
Different Tip Types and Their Specific Uses
Wood burning pen tips are key for different effects. There are tips for shading, outlining, or texturing.

Must-Have Supplies for Getting Started
More than just a pen, you need carbon paper, sandpaper, and a well-ventilated space. These supplies help you start your pyrography journey smoothly.
Selecting the Right Wood for Your Projects
Knowing the differences in wood types is key for making great pyrography art. The right wood can make your design pop. But the wrong wood can mess up your art.
Beginner-Friendly Woods: Basswood, Pine, and Birch
Start with soft, even-grained woods if you’re new to pyrography. Basswood, pine, and birch are great for beginners. Basswood is especially good because it’s soft and has little grain.
Pine and birch are also good choices. They’re soft but strong. These woods are easy to find and cheap, perfect for learning.
| Wood Type | Softness | Grain Pattern | Beginner-Friendly |
|---|---|---|---|
| Basswood | Very Soft | Minimal Grain | Yes |
| Pine | Soft | Visible Grain | Yes |
| Birch | Moderate | Even Grain | Yes |
Proper Wood Preparation Techniques
Before you start, make sure your wood is ready. Sanding is important. Sanding your wood makes it smooth. This helps your design look better.
Woods to Avoid and Why
Not all woods are good for pyrography. Hard woods like oak or maple are hard to work with. Woods with weird grain patterns or oils, like cedar or some pine, can burn unevenly or give off bad fumes.

Setting Up Your Workspace Safely
Creating a safe workspace is key for enjoying pyrography. When you burn wood, safety comes first. This keeps you safe and makes crafting fun.
Proper Ventilation Requirements
Good air flow is vital with pyrography. Burning wood sends out bad fumes and particles. Work in a place with lots of air or use a fan to clear the air.
This keeps you healthy and makes your work better.

Basic Wood Burning Techniques for Beginners
Starting with pyrography means learning basic skills for great art. You must know about temperature, pressure, and shading.
Mastering Temperature Control and Pressure
Temperature control is key in pyrography. Adjusting the temperature of your pen lets you get different shades and textures. To get better, try different temperatures on different woods.
Using the right pressure is also important. Too much pressure can burn the wood too deep. Too little might make lines too faint.
- Begin with low-temperature settings for fine details and light shading.
- Then, increase the temperature for darker shades and deeper burns.
- Try different pressure levels to get different line widths and textures.
Creating Clean Lines, Smooth Shading, and Realistic Textures
To get clean lines, move your pen like you’re drawing with a pencil. For smooth shading, use strokes that overlap to build up the shade. To get realistic textures, look at the natural patterns of your subject and try to copy them.
- Practice making different line widths and styles to add variety.
- Use smooth, overlapping strokes for even shading.
- Study the textures you want to copy and try different techniques to get them right.

Learning these basic techniques will help you make beautiful pyrography art. Remember, the more you practice, the better you’ll get. Don’t worry if your first tries aren’t perfect.
Step-by-Step First Pyrography Project
Starting your first pyrography project is exciting and a bit scary. But with the right help, you’ll soon make beautiful art. This project will teach you the basics and help you get better.
Choosing and Transferring Your Design
First, pick a simple pyrography design for your first project. This will help you get used to the tool and learn to control it. You can find many wood burning patterns online or make your own. After picking your design, you need to put it on the wood.
You can use graphite paper or draw it freehand. This depends on how easy you find it and how complex your design is.
Burning Your First Pattern:
Now it’s time to start burning. Start with the outlines. Use a steady hand and keep the temperature the same. Follow beginner pyrography tips like keeping the right angle and pressure.
Work on your design step by step. Focus on rotating your piece not your hand as you work. Fill in details and add shading as you go. Remember, be patient. Don’t rush.
Finishing and Protecting Your Completed Work
After you finish burning, check your work for any spots that need fixing. To protect your art and make it look professional, apply a wood finish. This makes it look better and keeps the wood safe.
| Step | Description | Tips |
|---|---|---|
| 1. Design Selection | Choose a simple design for your first project. | Look for inspiration online or create your own pattern. |
| 2. Transferring Design | Use graphite paper or freehand the design onto the wood. | Ensure the design is clear and legible on the wood surface. |
| 3. Burning | Start with outlines, then fill in details and shading. | Maintain steady hands and consistent temperature. |
| 4. Finishing | Apply a wood finish to protect and enhance your work. | Choose a finish that complements the wood and the burn. |
Troubleshooting Common Wood Burning Problems
Troubleshooting is key in pyrography. It helps you get better at wood burning. You might face some common issues, but they can be fixed easily.
Preventing and Fixing Burns and Scorches
Unwanted burns or scorches are common. To avoid them, control your wood burning pen’s temperature. Also, adjust how hard you press on the wood.
If you see a scorch, try to gently sand it. This can make it smoother. For bigger burns, use a wood burning correction fluid. Or, carefully re-burn the area to match the design. Carbon will build up on the tip as you work and may change the shading on your piece. Clean your wood burning tips often to prevent uneven burns.
Correcting Mistakes in Your Pyrography Work
Mistakes happen, but you can fix them. For small errors, sand the area to blend it with the design. For bigger mistakes, you might need to re-design or add it to the pattern.
Plan your design well before starting. Use transfer paper or draw directly on the wood to avoid mistakes. If a mistake is too big, see it as a chance to learn and start a new project.
Proper Maintenance of Your Wood Burning Tools
Keeping your tools in good shape is important. It helps you get consistent results and makes your tools last longer. Clean the tips of your wood burning pen often to prevent carbon buildup.
Store your tools in a dry, cool place, away from sunlight. Check them regularly for wear and tear. Replace parts as needed to keep them working well.
| Common Issue | Solution | Prevention Tip |
|---|---|---|
| Unwanted Burns | Sand the area or use correction fluid | Control temperature and pressure |
| Mistakes in Design | Sand minor errors or re-design | Plan design carefully before burning |
| Tool Malfunction | Clean tips regularly | Store tools properly |
Inspiration and Next Steps for Your Pyrography Journey
As we wrap up our beginner’s guide to pyrography, we urge you to keep exploring. Now that you know the basics it’s time to try it out. If this is a hobby you really would like to get into check out Burn Savvy. This amazing website has some really great info and plenty of helpful tips. Oh! and did I mention free patterns to download.
Join online pyrography groups to share your work and learn from others. You’ll find lots of resources to help you improve. Pyrography is a fun hobby that lets you show your creativity and make your ideas real. Keep practicing and trying new techniques to grow your skills.
Pyrography lets you make special gifts or beautiful decorations. I hope this guide made you excited. I can’t wait to see the cool things you’ll make. Please share any tips and thoughts with us. Get creative and make it your way!


